I’ve been intending to document this installation for over a year… but hey, procrastination!
A bit of background to start. I needed a way to permanently mount my Yaesu FTM-350 in my 2013 Ford Fusion without damaging the interior. Requirements were for something that could be positioned unobtrusively, but made the radio easy to see and adjust from the driver’s seat. It also needed to be easily reversible should I need to do so. I also wanted something that would allow me to quickly detach the control head from the mount should I want to stow it out of view. I looked at windshield and dash mounts, cup holder mounts, and seat post mounts.
This write-up will document only the radio mounting process. Power and coaxial cable runs are pretty well-covered in other online and print resources. Following is what worked for me in my application. It may or may not be applicable to your installation, but may give you some ideas. As always, your mileage may vary, and every situation is different. As such, I cannot be responsible for the outcome of your installation.
First, the radio. The Yaesu FTM-350 has a remote head that does not directly mount to the main radio. There is a single mounting point on the back of the head – a metric 5mm x 0.80 threaded insert. It matches up with a suction cup mount supplied by Yaesu, but it’s an odd thread compared to most every aftermarket mount I could find. I did eventually find a couple of mounting or adapter options, but most required you to buy the entire proprietary system they mated with. This was not the direction I wanted to go.
I found the main body of the radio could be nicely mounted underneath the passenger’s seat with separation and power cables well-protected inside some spiral-wrap wire loom. This meant I was looking primarily at mounting locations in or around the center console. I had considered fabricating a bracket to hold the control head in place just ahead of the shifter in a storage space that is part of the console, but that would eliminate that storage area and likely meant the head would not be easily or quickly detached if needed.
I don’t recall when or who pointed me to ProClip’s two-part mounting system, but I’m pretty sure it was my friend Clint, KC0JUO. Regardless, it’s a pretty darn slick system that consists of a vehicle-specific mount (there are also different mounts for different mounting locations in the vehicle) with device-specific holders that then attach to the vehicle-specific mount. The result is essentially a custom mounting solution that’s unique to your configuration. I used their products as the basis of my installation, with a few modifications. I don’t receive any benefit from ProClip for recommending their products, but really like them!
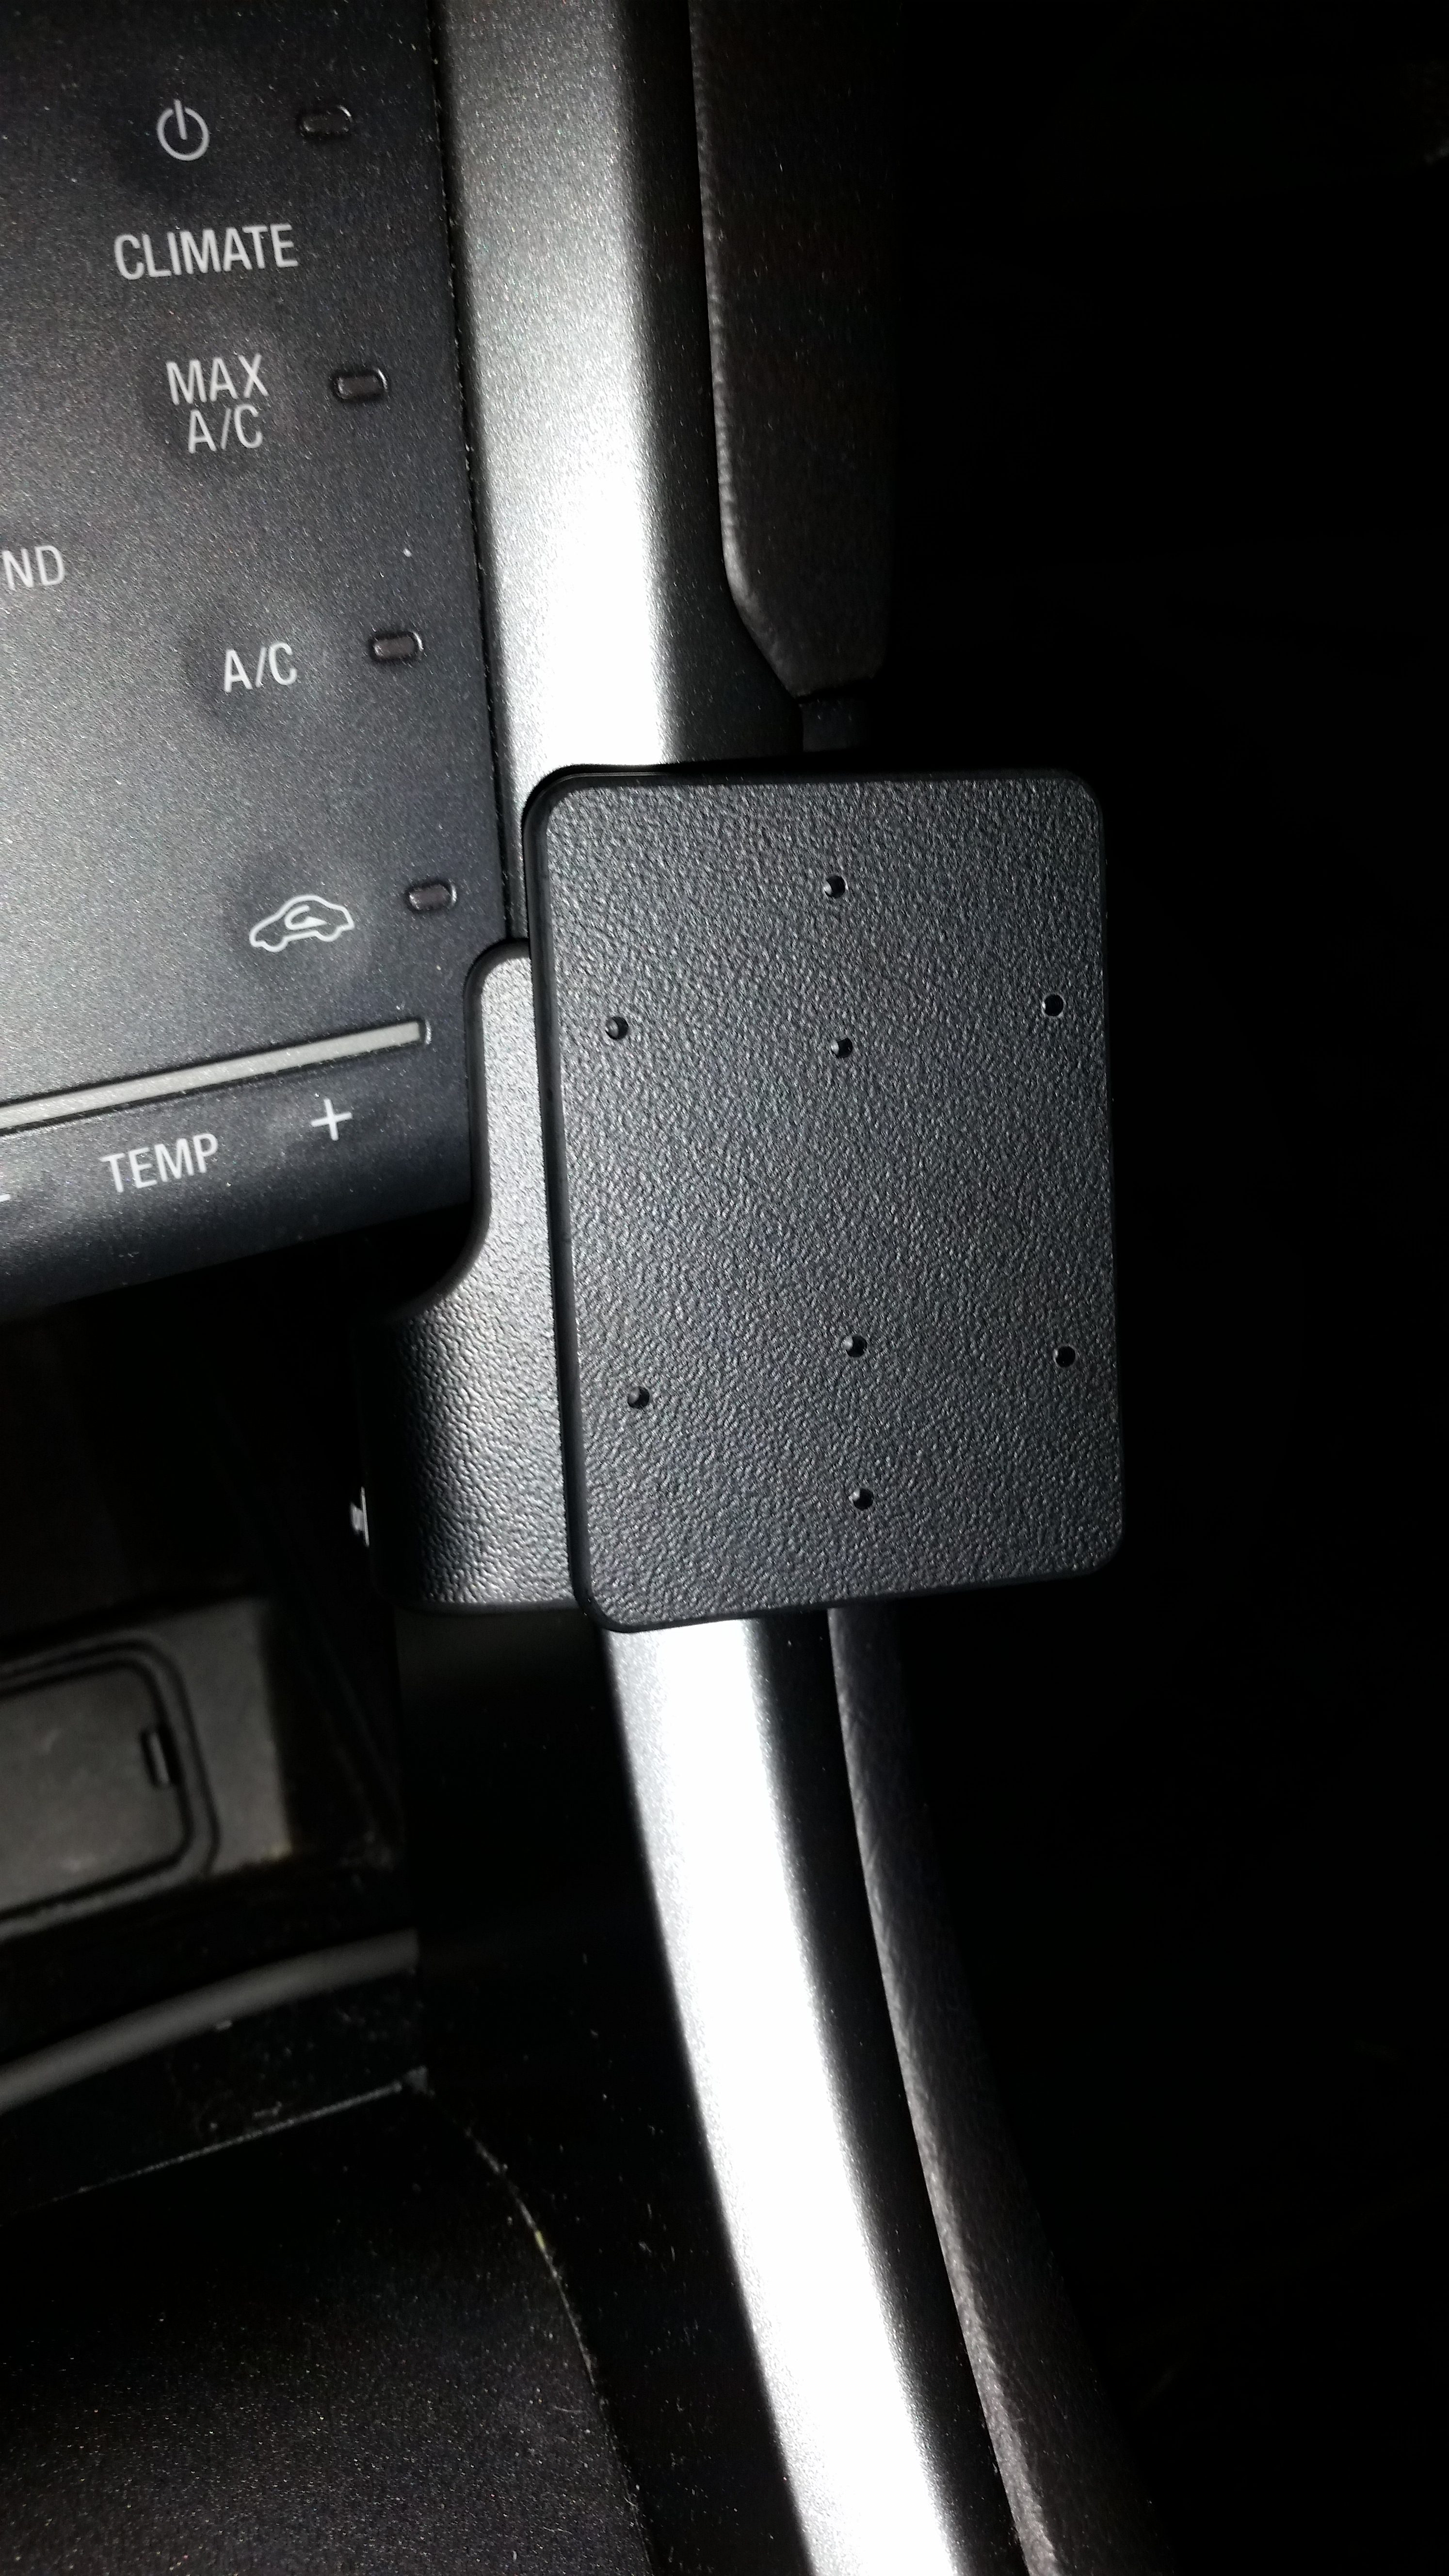
I started with the ProClip angled console mount for the 2013 Fusion. It features a flat surface with an industry-standard AMPS screw pattern. Here is a picture of it installed in my vehicle.
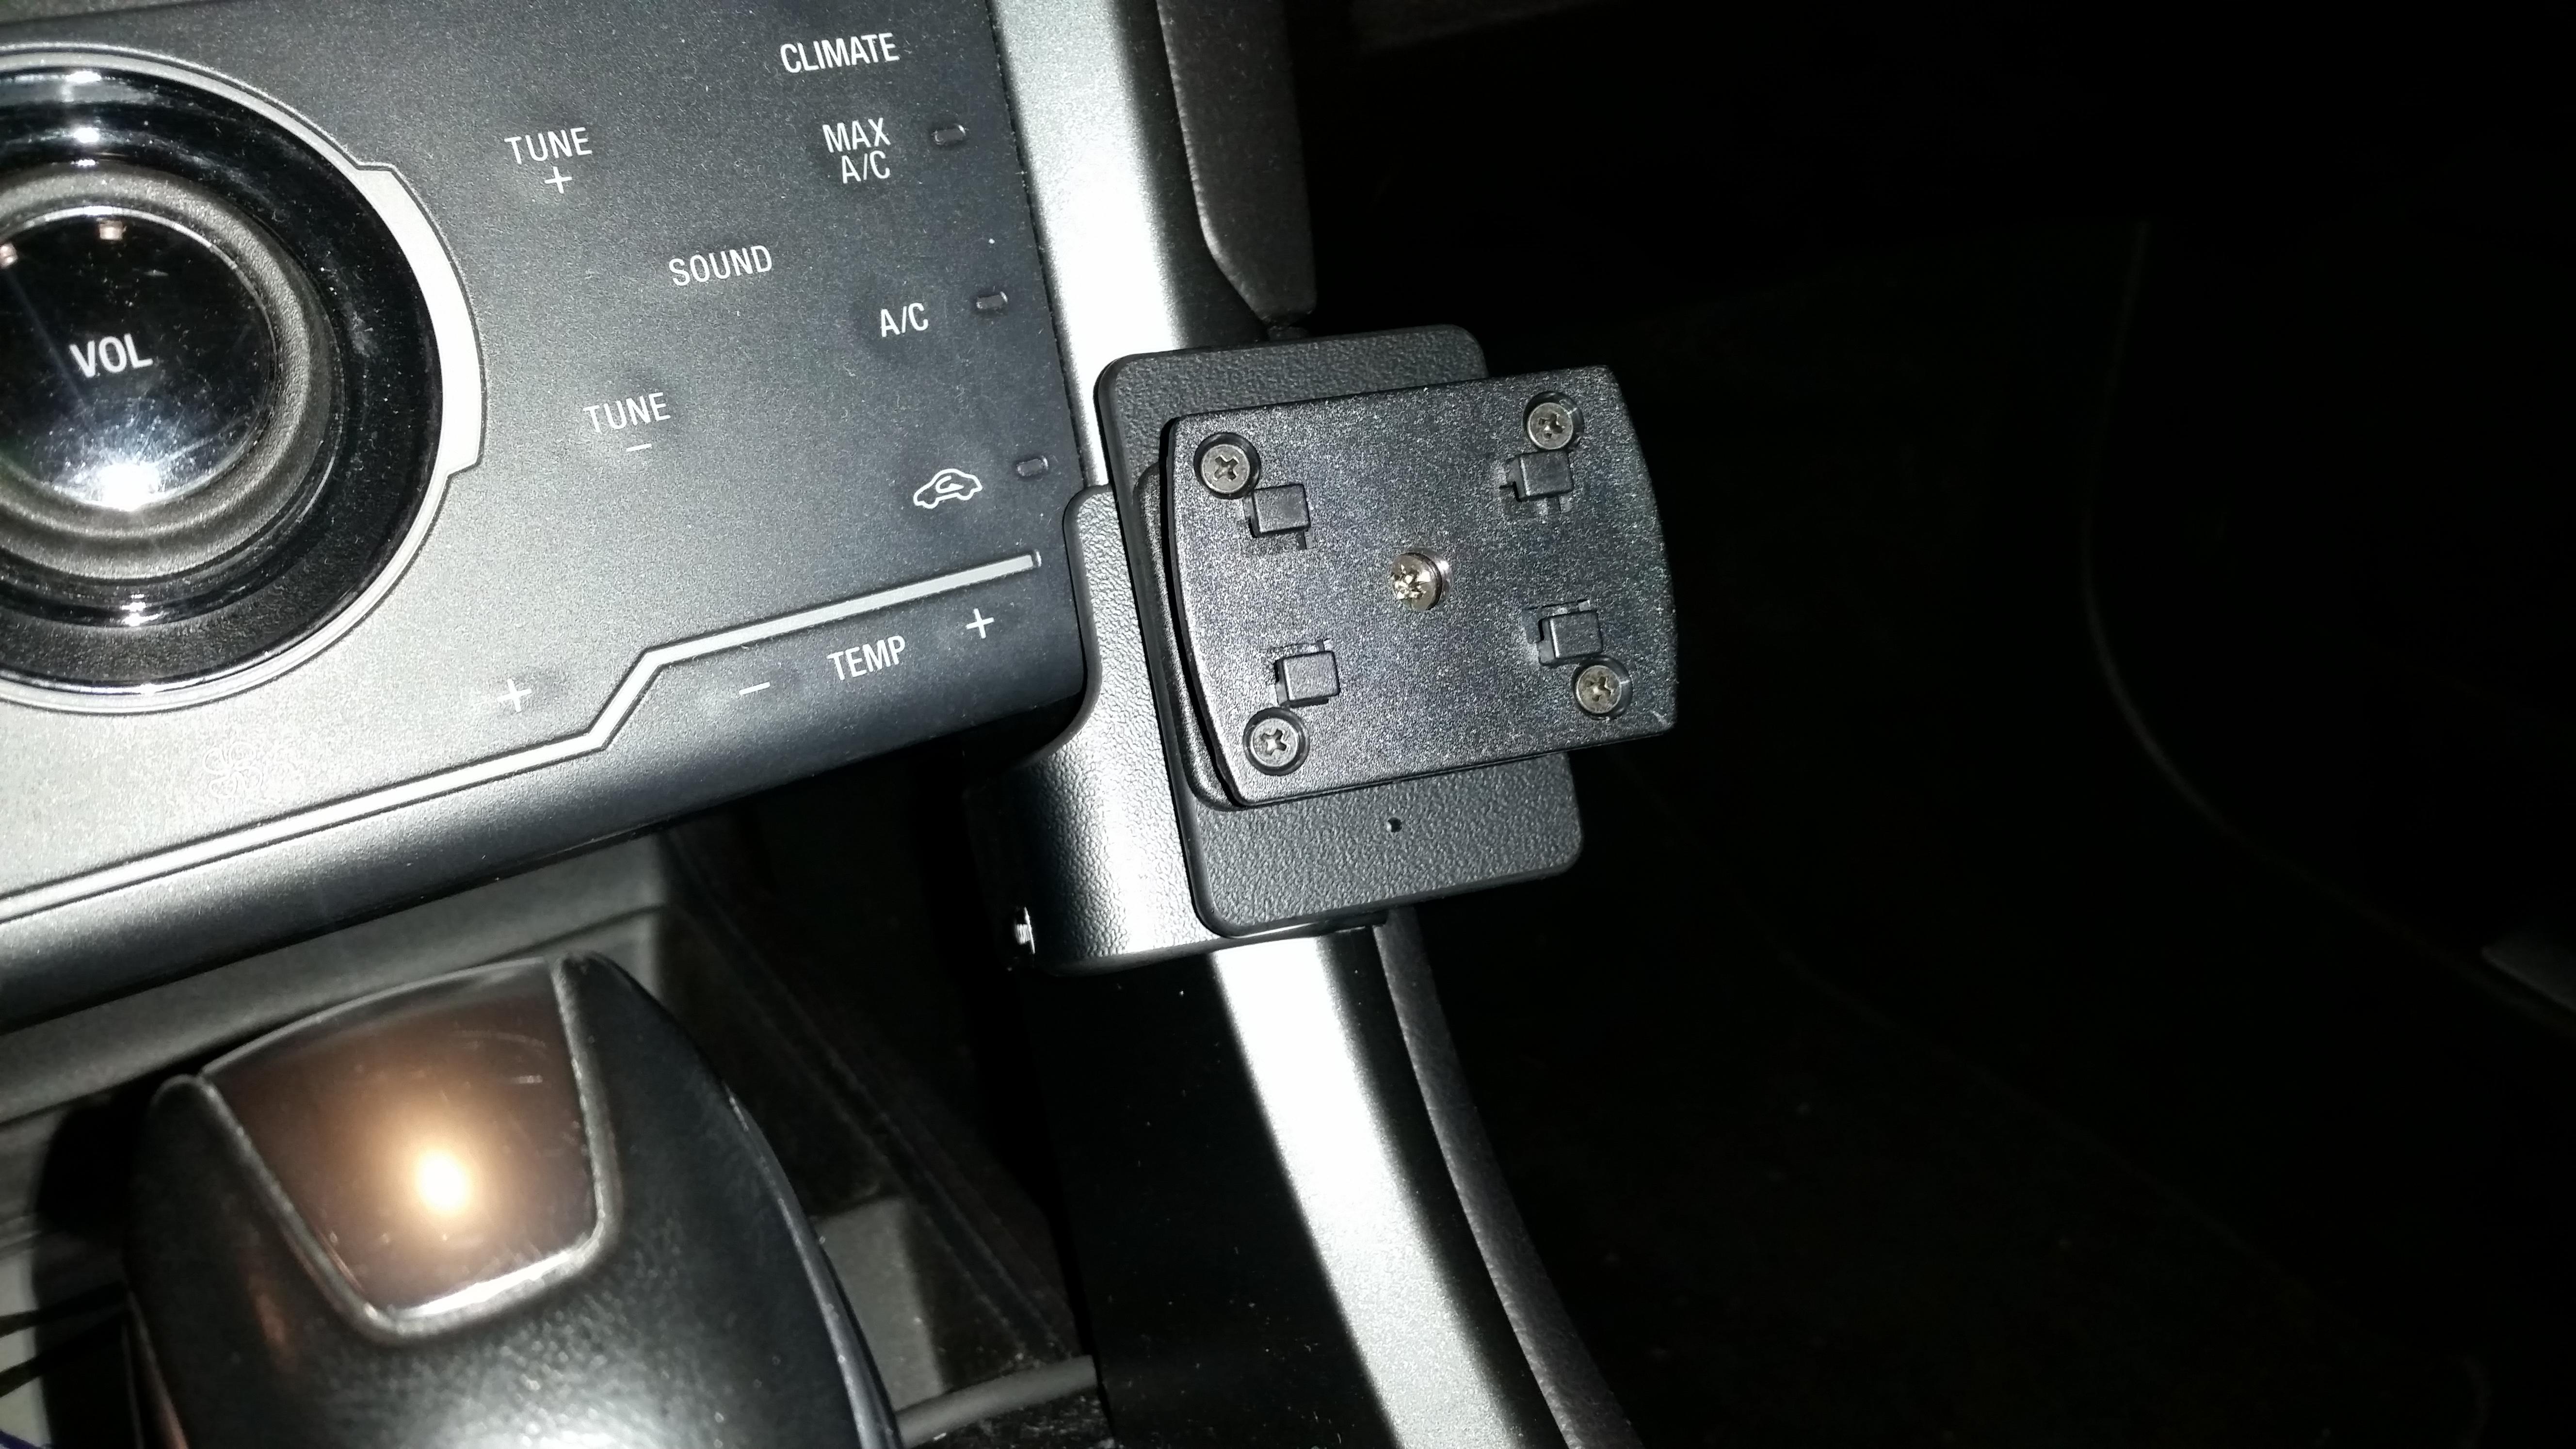
Since the mount features the AMPS pattern, there are a number of options available. After looking at my situation, I decided I wanted the ability to move the radio around a bit if needed, so I selected a swivel mount. Specifically, I selected a ProClip AMPS to Richter swivel mount. More on the Richter mount shortly. I also purchased a 19mm thick ProClip AMPS-pattern spacer block to allow me to move the radio head out from the console a bit, but in the end, I didn’t use it. Here is a photo of the swivel mount installed on top of the console mount.
Back to the Richter mount. Because the FTM-350 has just a single mounting point on the back of the head with the unusual thread pitch, I needed something that would easily adapt from that metric 5mm x 0.80 thread to something I could integrate into the rest of the system. I looked at ball and other mounts, but everything was too bulky. Enter ProClip’s Richter female mounting plate. This plate is super thin (less than 1/4″ thick) and includes an adhesive pad that can be used to affix it to the back of your device. I opted to drill a single small hole in the center to allow use of a stainless-steel button socket cap screw to mount it more securely without interfering with the mount itself. Were I to do this again, I would skip the adhesive since I find it tends to “bind” on the fingers of the Richter mount and make separation a bit more challenging at times. Following are pictures of the adapter plate after drilling the hole, and with the cap screw installed.


Once the Richter adapter plate is attached, you simply mate the plate with the corresponding part of the swivel mount and slide to lock it in position. Since the control head only has a single cable running back to the main radio, detaching is as simple as disconnecting the modular connector, then sliding the Richter mount apart. The microphone stays attached to the control head.
Here is a photo of the finished installation. I met all of my initial criteria and have a radio installation that looks professional and doesn’t interfere with operation of the vehicle or get in the way of any passenger. This installation position does cover the passenger-side climate adjustment controls, but those are accessible from the vehicle’s touch panel above the console, so nothing critical is obscured. I hope this gives you some ideas for your own installations!
