A Mystery Radiosonde

I’ve not posted much on this site in a long time. It’s not that I’ve not been busy, rather, quite the contrary. It seems as though time just continues to accelerate and it gets harder and harder to find the time to document what I’m doing. I’m finding there is great value in this, though, and I plan to do better.

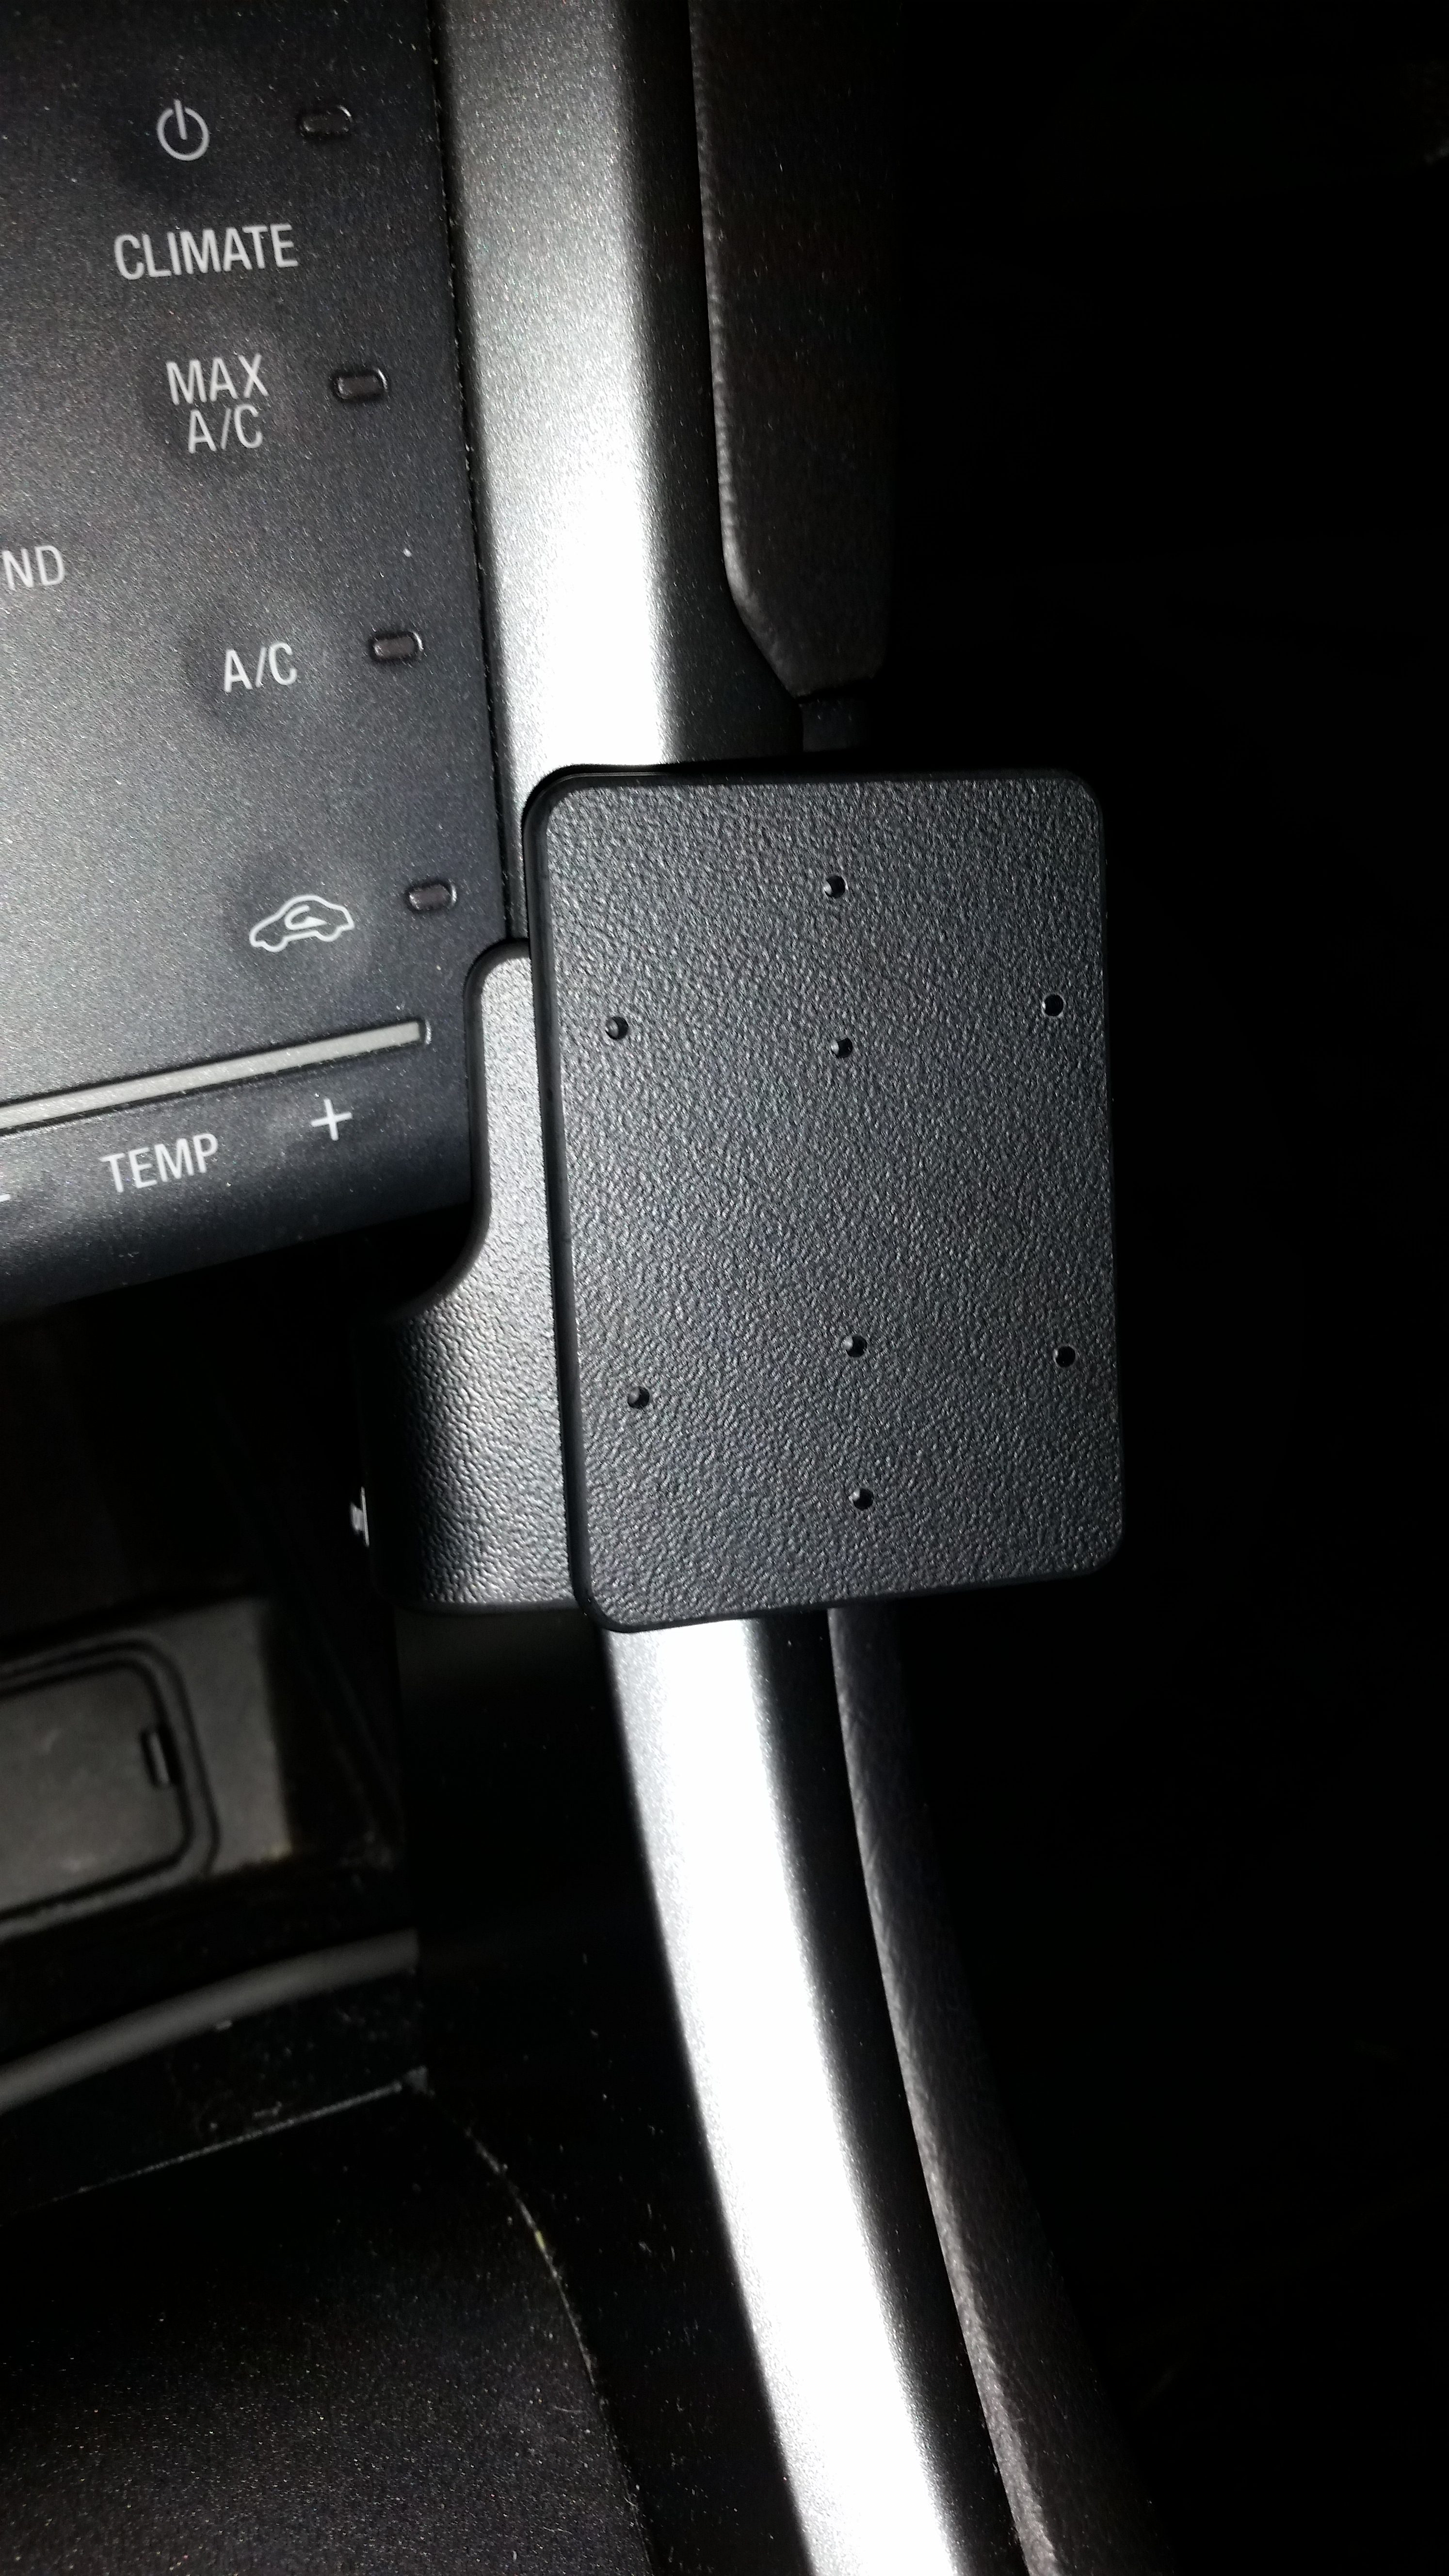
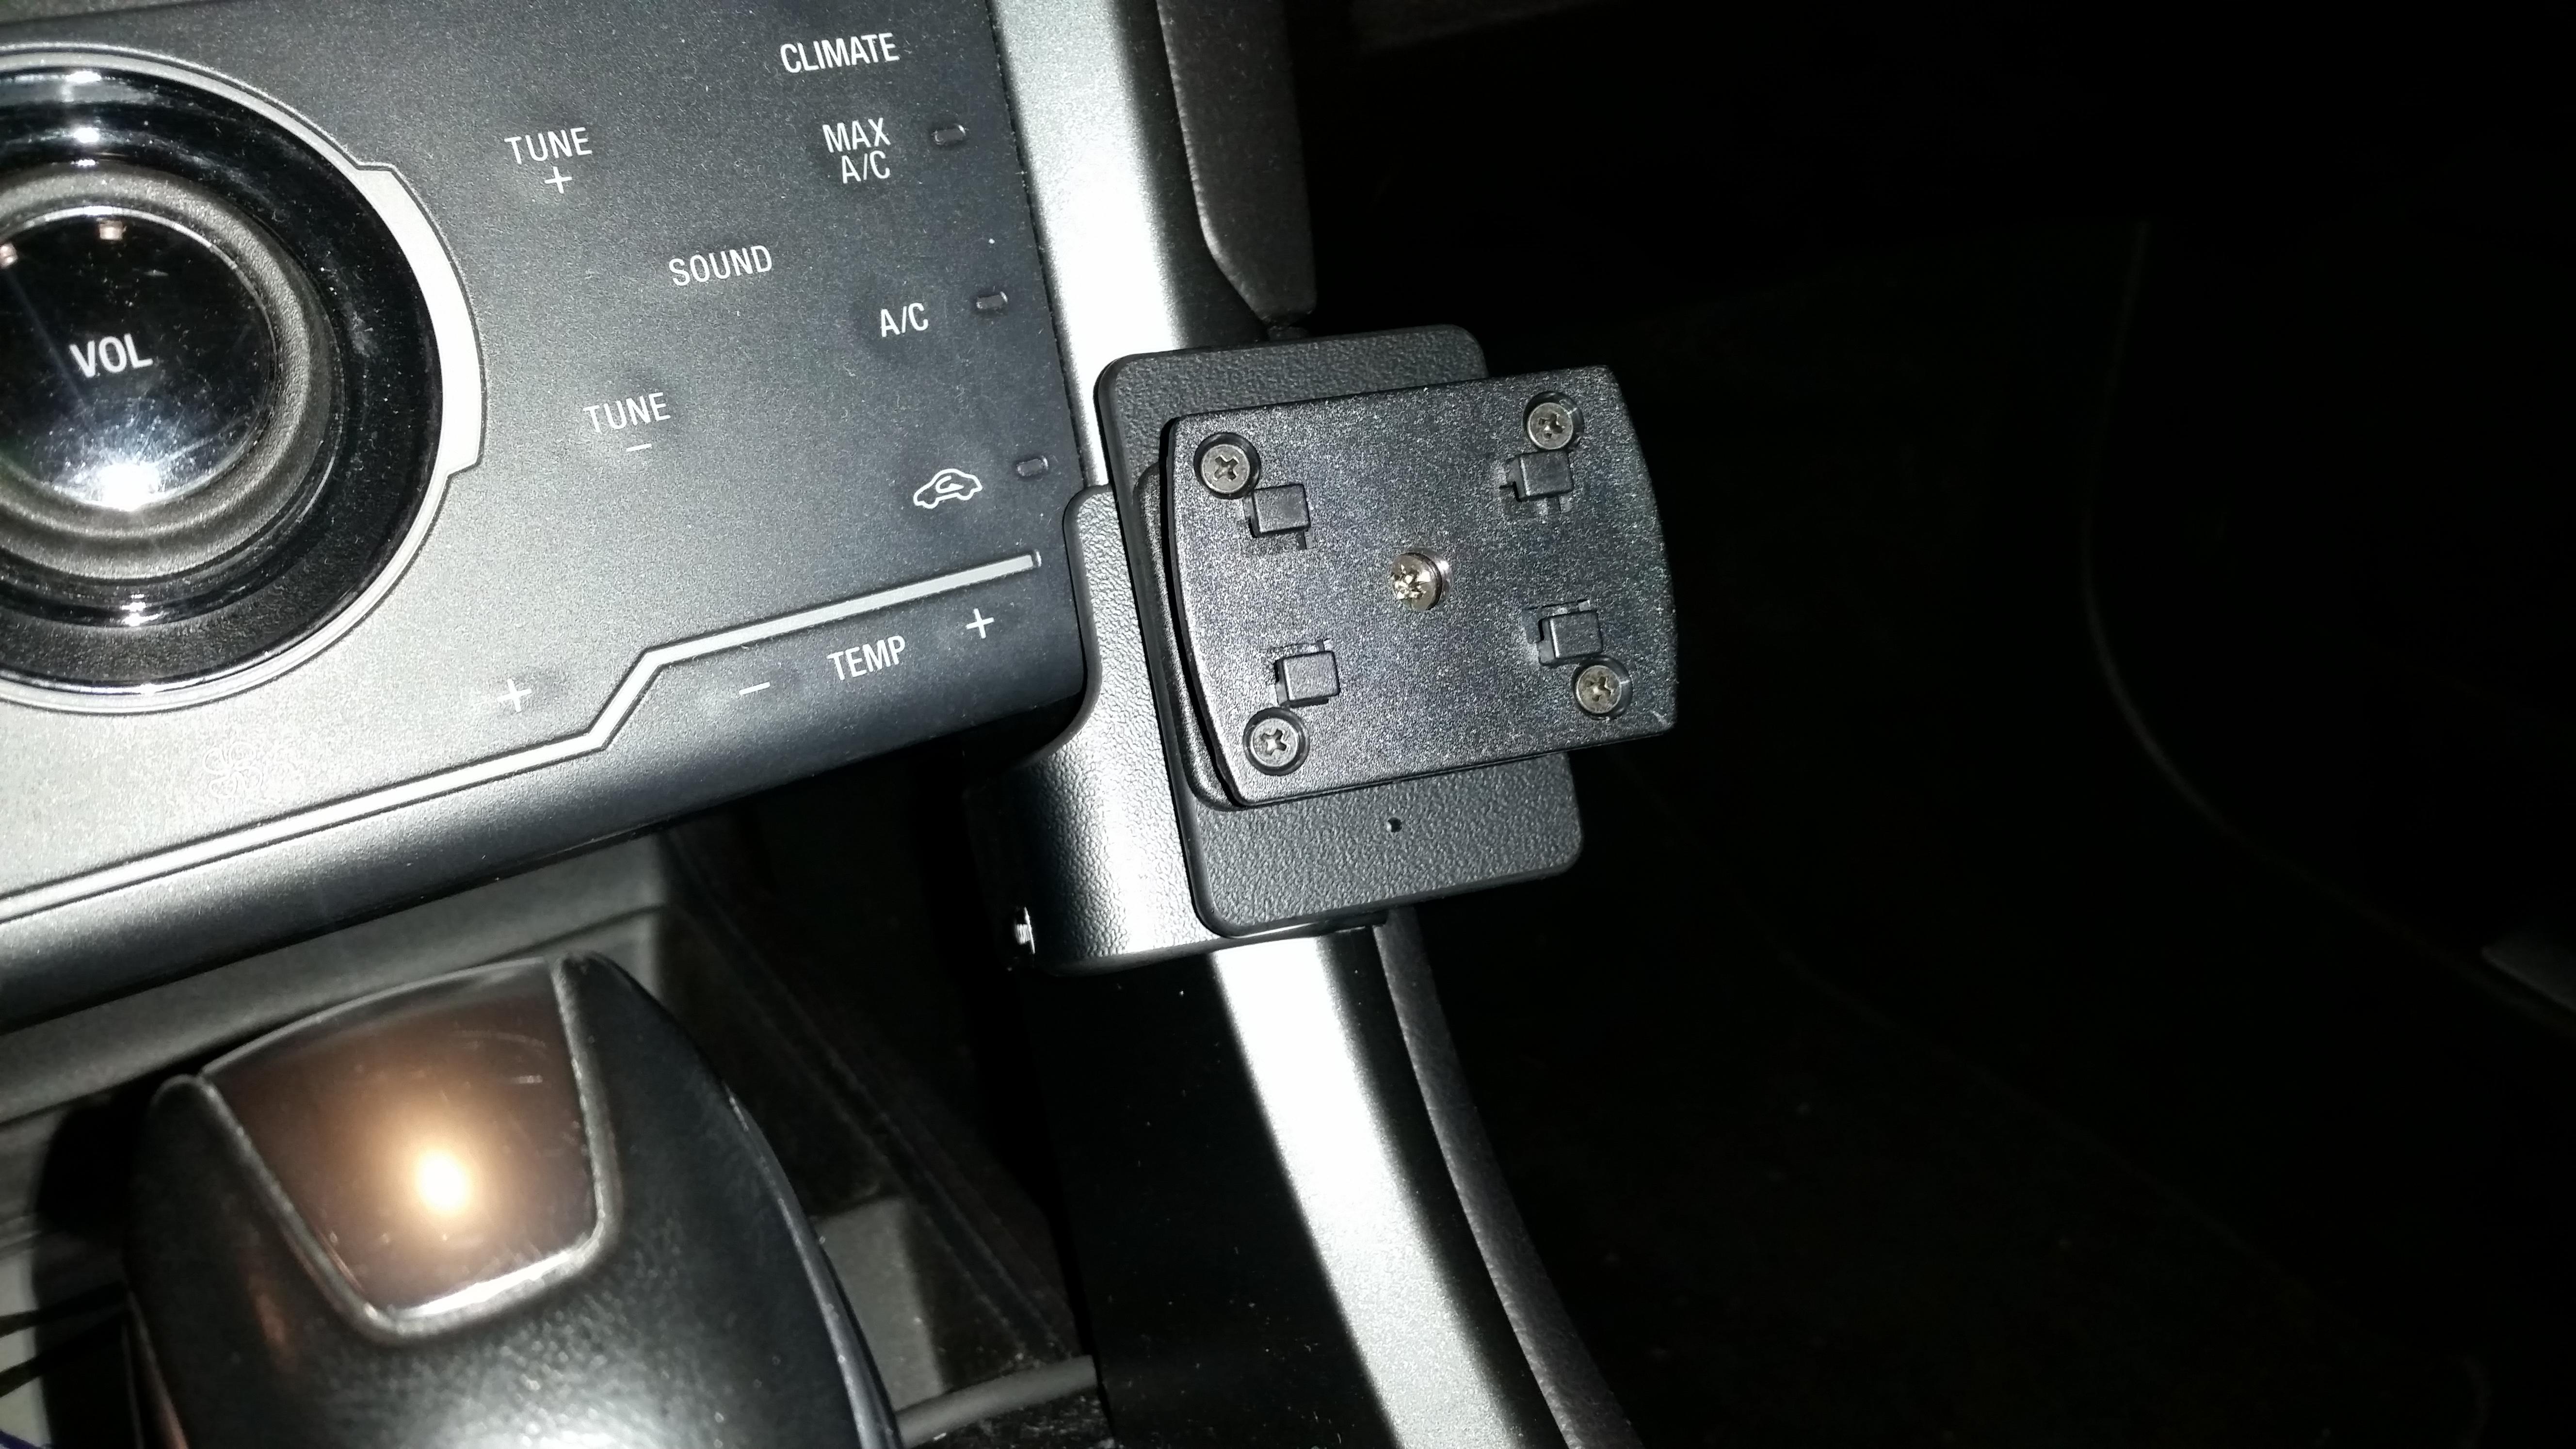
One ham radio ‘adjacent’ activity I’ve found myself exploring of late has been capturing and feeding aviation telemetry. This presently ranges from fairly commonplace data like ADS-B and NOAA balloon sondes to a bit more esoteric stuff like VHF ACARS, L-Band ACARS (decoded from INMARSAT geostationary satellites) and even ACARS over Iridium. I feed my ADS-B data from both 1090 and 978MHz to ADSB.fi and my ACARS data in its various forms and from various sources to Airframes.io. Balloon sonde data at 400MHz is currently fed to SondeHub.

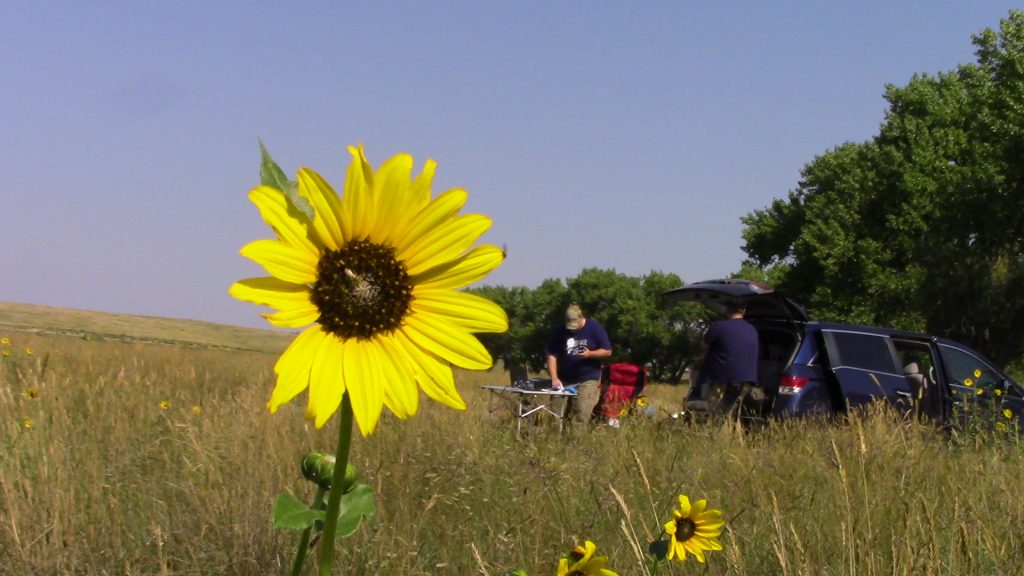
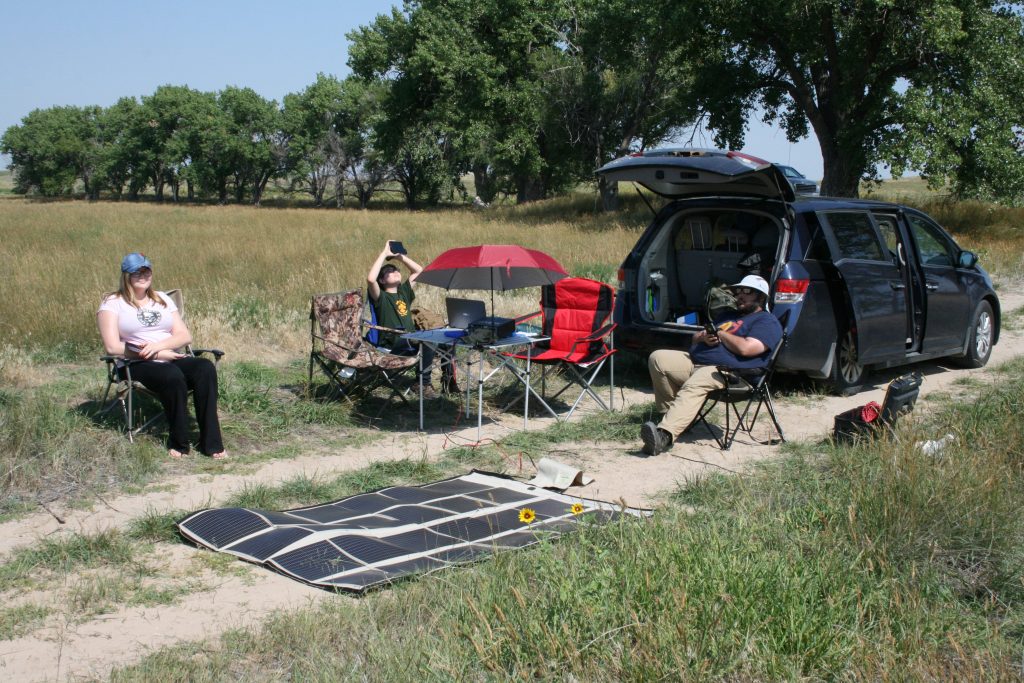
That leads us to the balloons. Lots of balloons. The National Weather Service (NWS) launches balloons with radiosonde payloads twice daily from something like 95 sites. One of those is just West of Omaha NE, placing Central Iowa right in the middle of their landing zone for many flights. There’s a growing community of folks in the area both tracking/feeding the sonde data, but also working to recover them. More on that in another post, most likely. In any case, my good friend Clint (K0GR) and I have undertaken several ‘interesting’ recoveries over the past couple of months, and we both monitor the SondeHub website closely for flights that might make good targets for recovery.

On the morning of 29 March 2023, Clint texted and noted a different sonde had shown up than we were used to. We’re used to the NWS/NOAA flights that currently utilize Graw DFM-17 sondes. This was an InterMet iMet-4 sonde (s/n 4D38AC0E). Curious. I remotely connected to my SondeHub feeder through SSH and confirmed I had very briefly tracked this sonde, and it didn’t appear to be an artifact. The SondeHub track can be viewed here: iMet-4 4D38AC0E

Track (and predicted origin) of iMet-4 sonde s/n 4D38AC0E

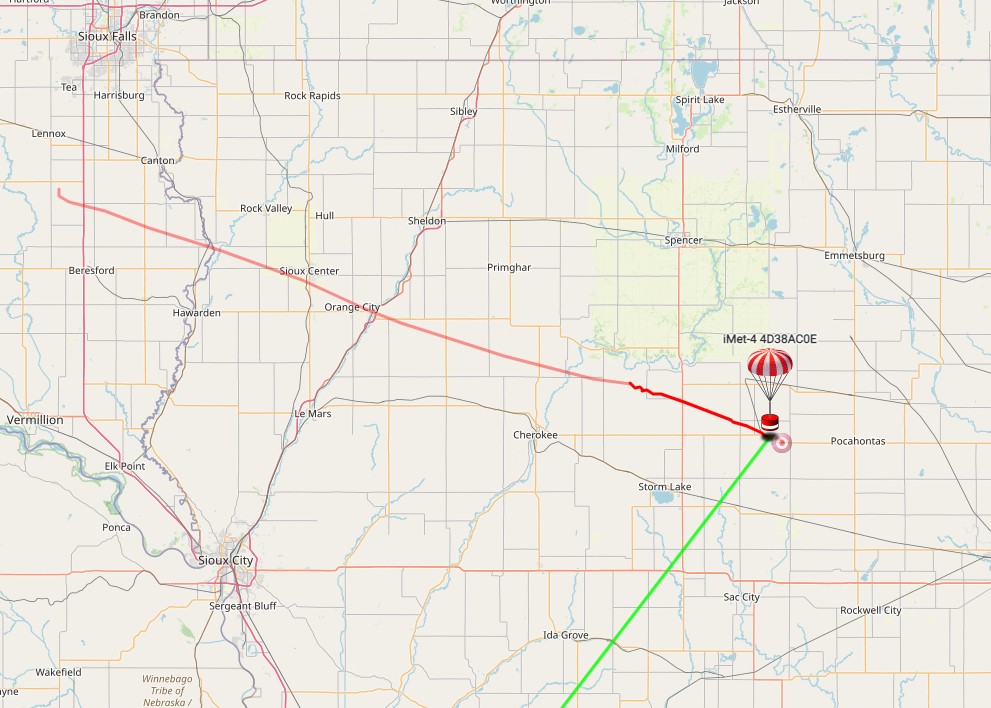
This sonde flight seemed unusual due to the fact the NWS has only been launching Graw DFM-17 sondes in this region, but also because there were no known launch sites correlated with the flight prediction generated by SondeHub. While attempting to determine if the NWS was unexpectedly launching from a new site south of the Sioux Falls SD area, I came across an article from South Dakota Public Broadcasting published in July 2022 that referenced balloon launches in the Sioux Falls area from a private aerospace company: Raven Aerostar. Interesting! https://listen.sdpb.org/science/2022-07-13/sorry-not-an-alien-test-balloons-over-sioux-falls-area-spark-calls-to-weather-service

Further exploration led me to find an online project (StratoCat) based in Argentina that is dedicated to cataloging stratospheric balloon flights. https://stratocat.com.ar/stratocate.htm The StratoCat site had tracking data for some recent flights from Raven Aerostar utilizing ADS-B data, including a very recent flight that launched from a brand-new location near Hurley SD – just south of Sioux Falls. Speculating that we might be looking at a sounding flight prior to launch of another stratospheric flight, I pulled up the ADS-B map, and sure enough… just two minutes before the last telemetry was received from the iMet-4 sonde (14:48:06Z), ADS-B telemetry was picked up (14:46:47Z) for a new flight that identified itself as HBAL622 (ICAO hex ACEEC8, FAA registration N932TH). The launch appears to have originated from a private grass-strip airfield: Dangel Airport (K2SD7) near Hurley SD, N43.3333167 W97.0628306. Interestingly, Google Maps also now appears to have been updated by someone to show this location as “Aerostar Flight Operations.”

The flight progressed slowly from SE South Dakota and across Iowa reaching altitudes approaching FL680, with my ADS-B feeder providing data for a good portion of the flight. The full flight track can be viewed on the ADSBx website: HBAL622 flight 29MAR2023.

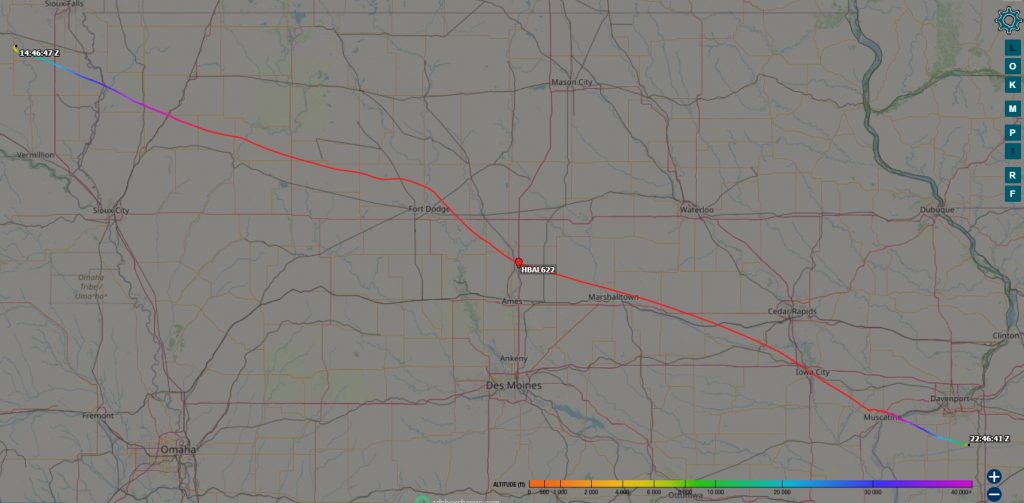
ADS-B tracking on ADSBExchange ceased at approximately 1,650’ AGL, however, ADS-B coverage was maintained through an ADSB.fi feeder until the balloon landed at 22:47:53Z.

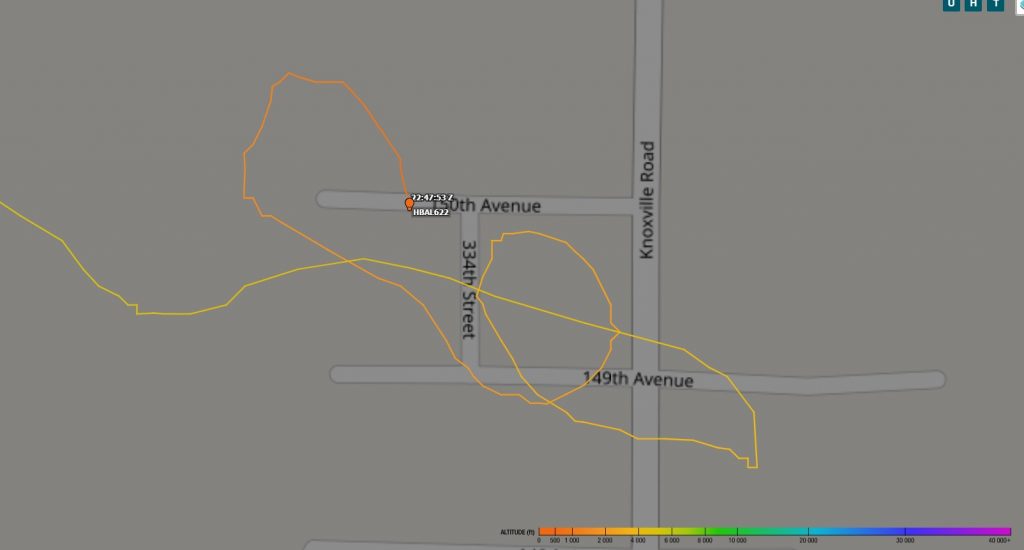
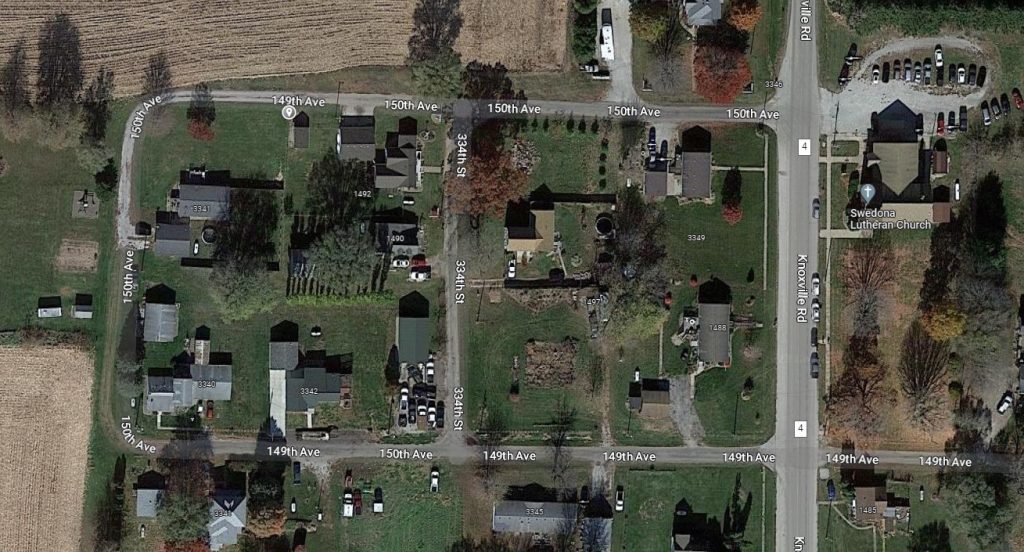
Based upon the ADS-B reporting, it appears the landing site was near some homes in Swedona IL, N41.28193 W90.44642.

Hopefully this is the first of many flights from this new launch site.

Another successful One-Day Technician License class is in the books

Congratulations to all 14 students who attended the latest One-Day Technician License class and successfully passed their FCC exam this past Saturday, April 28th.  Thanks to each of you who participated and worked so hard to make the class a success!

Thanks also to the following hams who helped make the class possible:

  • Clint Miller (K0GR) for his assistance instructing, programming radios, and putting the class together
  • Jason Skretta (KC0EDE) for his assistance with lunch and radio programming
  • Matt Nelson (KB0MGQ), Rick Allen (N0CFL), Ben Montour (W0BGM), and Bill McCall (N0KJ) who served as the Volunteer Examiners for the test session


Paul.

Mounting a Yaesu FTM-350 in a 2013 Ford Fusion

I’ve been intending to document this installation for over a year… but hey, procrastination!

A bit of background to start. I needed a way to permanently mount my Yaesu FTM-350 in my 2013 Ford Fusion without damaging the interior. Requirements were for something that could be positioned unobtrusively, but made the radio easy to see and adjust from the driver’s seat. It also needed to be easily reversible should I need to do so. I also wanted something that would allow me to quickly detach the control head from the mount should I want to stow it out of view. I looked at windshield and dash mounts, cup holder mounts, and seat post mounts.

This write-up will document only the radio mounting process. Power and coaxial cable runs are pretty well-covered in other online and print resources. Following is what worked for me in my application. It may or may not be applicable to your installation, but may give you some ideas. As always, your mileage may vary, and every situation is different. As such, I cannot be responsible for the outcome of your installation.

First, the radio. The Yaesu FTM-350 has a remote head that does not directly mount to the main radio. There is a single mounting point on the back of the head – a metric 5mm x 0.80 threaded insert. It matches up with a suction cup mount supplied by Yaesu, but it’s an odd thread compared to most every aftermarket mount I could find. I did eventually find a couple of mounting or adapter options, but most required you to buy the entire proprietary system they mated with. This was not the direction I wanted to go.

I found the main body of the radio could be nicely mounted underneath the passenger’s seat with separation and power cables well-protected inside some spiral-wrap wire loom. This meant I was looking primarily at mounting locations in or around the center console. I had considered fabricating a bracket to hold the control head in place just ahead of the shifter in a storage space that is part of the console, but that would eliminate that storage area and likely meant the head would not be easily or quickly detached if needed.

I don’t recall when or who pointed me to ProClip’s two-part mounting system, but I’m pretty sure it was my friend Clint, KC0JUO. Regardless, it’s a pretty darn slick system that consists of a vehicle-specific mount (there are also different mounts for different mounting locations in the vehicle) with device-specific holders that then attach to the vehicle-specific mount. The result is essentially a custom mounting solution that’s unique to your configuration. I used their products as the basis of my installation, with a few modifications. I don’t receive any benefit from ProClip for recommending their products, but really like them!

I started with the ProClip angled console mount for the 2013 Fusion. It features a flat surface with an industry-standard AMPS screw pattern. Here is a picture of it installed in my vehicle.

Since the mount features the AMPS pattern, there are a number of options available. After looking at my situation, I decided I wanted the ability to move the radio around a bit if needed, so I selected a swivel mount. Specifically, I selected a ProClip AMPS to Richter swivel mount. More on the Richter mount shortly. I also purchased a 19mm thick ProClip AMPS-pattern spacer block to allow me to move the radio head out from the console a bit, but in the end, I didn’t use it. Here is a photo of the swivel mount installed on top of the console mount.

Back to the Richter mount. Because the FTM-350 has just a single mounting point on the back of the head with the unusual thread pitch, I needed something that would easily adapt from that metric 5mm x 0.80 thread to something I could integrate into the rest of the system. I looked at ball and other mounts, but everything was too bulky. Enter ProClip’s Richter female mounting plate. This plate is super thin (less than 1/4″ thick) and includes an adhesive pad that can be used to affix it to the back of your device. I opted to drill a single small hole in the center to allow use of a stainless-steel button socket cap screw to mount it more securely without interfering with the mount itself. Were I to do this again, I would skip the adhesive since I find it tends to “bind” on the fingers of the Richter mount and make separation a bit more challenging at times. Following are pictures of the adapter plate after drilling the hole, and with the cap screw installed.

Once the Richter adapter plate is attached, you simply mate the plate with the corresponding part of the swivel mount and slide to lock it in position. Since the control head only has a single cable running back to the main radio, detaching is as simple as disconnecting the modular connector, then sliding the Richter mount apart. The microphone stays attached to the control head.

Here is a photo of the finished installation. I met all of my initial criteria and have a radio installation that looks professional and doesn’t interfere with operation of the vehicle or get in the way of any passenger. This installation position does cover the passenger-side climate adjustment controls, but those are accessible from the vehicle’s touch panel above the console, so nothing critical is obscured. I hope this gives you some ideas for your own installations!

Total solar eclipse – August 21 2017

Pictures from the August 21 “expedition” to see the total solar eclipse and operate as W0M during the Solar Eclipse QSO Party.

April 1 – “Tape Measure” Yagi Antenna Workshop

If you have been interested in participating in a fox hunt but you don’t have a directional antenna, we have the perfect opportunity for you!

Clint Miller KCØJUO and Paul Cowley KB7VML with the Story County Amateur Radio Club are hosting a 2-meter “Tape Measure” Yagi Building Workshop. We will be supplying a complete kit and hands-on instruction for you to build your own WB2HOL-design tape measure antenna, with some slight enhancements to the design.

These antennas have a really great front-to-back ratio with a very deep notch in the pattern toward the rear. It uses three steel “tape measure” elements that fold easily to allow you to quickly get in and out of your vehicle and yet remain stiff enough to be self-supporting when hunting for a hidden transmitter. Between hunts, the elements can be folded or rolled to reduce storage space. This antenna design has been in use for decades for ARDF and transmitter or fox hunting, but also can be used to contact astronauts on the International Space Station, make satellite repeater contacts, extend your HT range to hit that repeater in the next county, sniff out local RFI noise, locate a stuck transmitter or jammer… the options are endless.

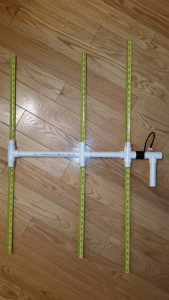
There are no special skills or tools needed to participate in the workshop, just the ability to follow instructions and an interest to have a good time. Each participant will get a complete kit with all the parts needed to build an antenna with a male BNC connector on the end of the coax. Adapters for your HT or handheld scanner will be available for a small additional fee when registering. We will have all the tools and supplies available so you will leave the workshop with a tested and functioning antenna. During the workshop, we will provide some additional ideas for enhancements to make later if you so choose. If you bring your HT or handheld scanner, there will be a fox hidden outside for you to practice finding.


If you are not able to attend but are interested in an unassembled kit (with instructions) and can make arrangements to pick it up in Ames or Urbandale, please register and put in the comments that you are only ordering a kit and will not be attending on 4/1.

Preregistration and prepayment is required so we can order enough supplies and save on shipping costs.

Due to additional interest, we are extending the pre-registration deadline to 8:00am on March 29th… but with an increased cost of $20 per kit (because of increased component and shipping costs).

CLICK HERE TO REGISTER

Payment is due at time of registration (includes ALL materials necessary to complete one antenna)
Questions: Contact Clint Miller KCØJUO at isuforester@hotmail.com

We look forward to seeing you at the workshop.

First Post

Welcome to my website… it’s been a long time coming. My last site was last updated in 2001, nearly 15 year ago! I purchased the kb7vml.net domain a while back and am finally up and hosting my own WordPress site. I hope to document and share my experiences and knowledge gained for the benefit of others.